
Albin Vega Restoration
>> Look over there for more Albin Vega stuff >>
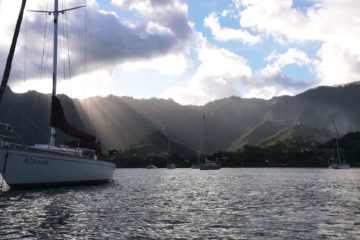
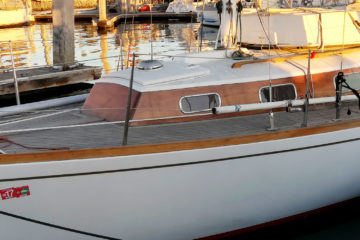
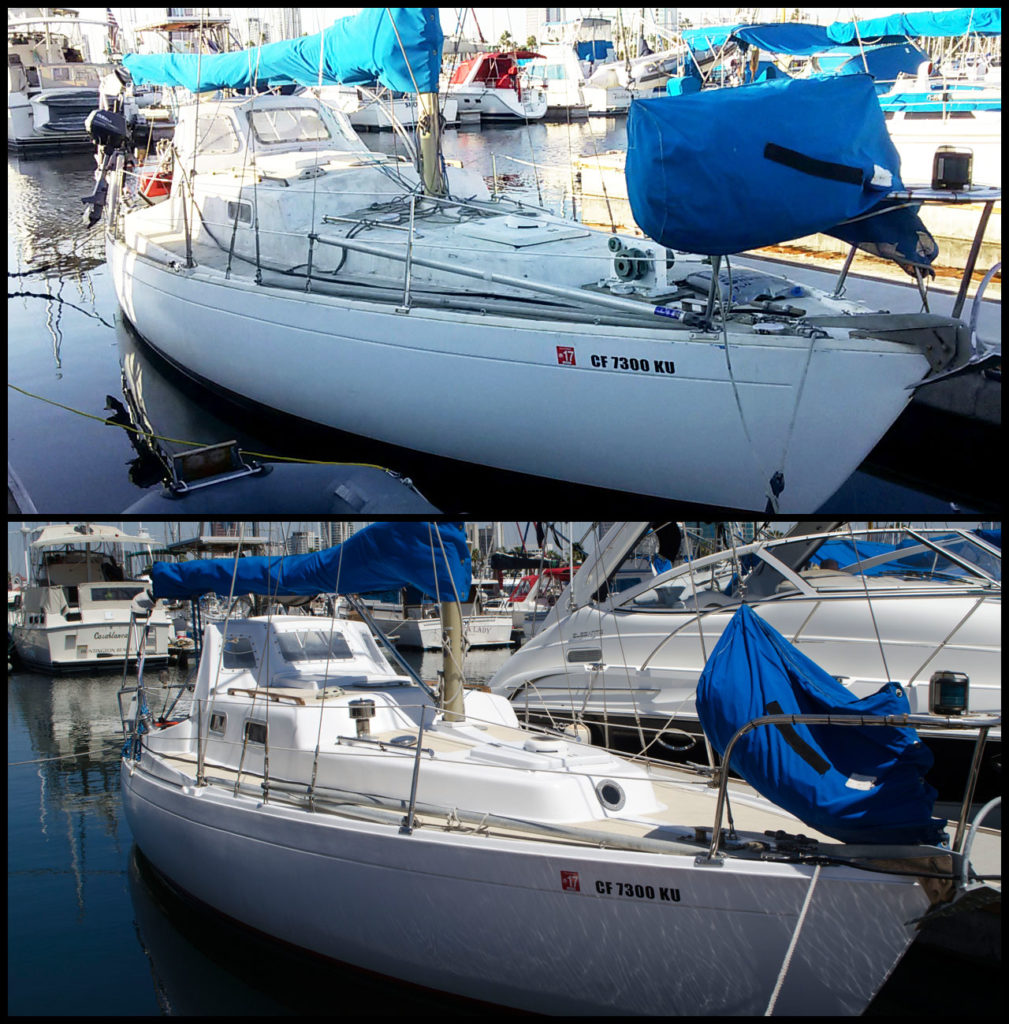
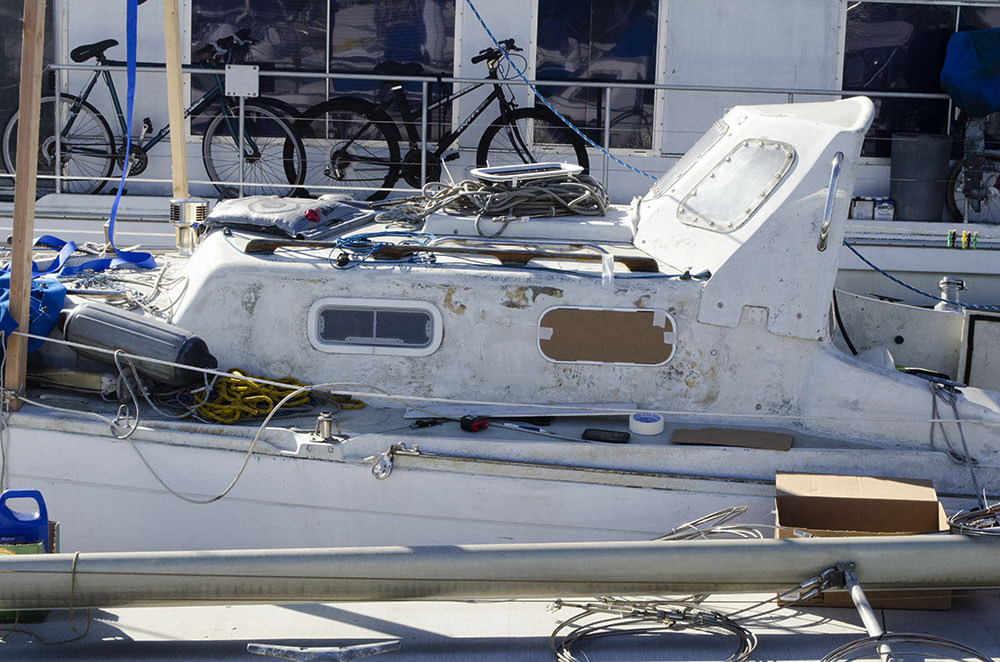
When I purchased my Albin Vega, it was a mess. Although it came equipped with a lot of spendy items, the cosmetics had fallen into disrepair. Here are some photos which loosely document the rebuild. Some people wouldn’t even consider a boat in the cosmetic state that I found it in. After having gone through this restoration, I might not either!
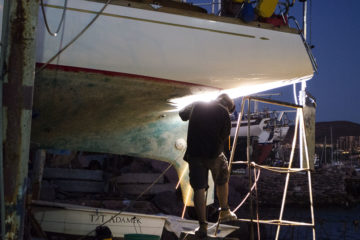
All the work was carried out in the slip. These are mostly focused on cosmetic issues. I also did a significant amount of mechanical work, which included lots of electrical/generation (solar & wind), swapping outboards/the outboard bracket, replacing the fuel tank, etc. See my “Albin Vega To Do List” to the right for a comprehensive list.
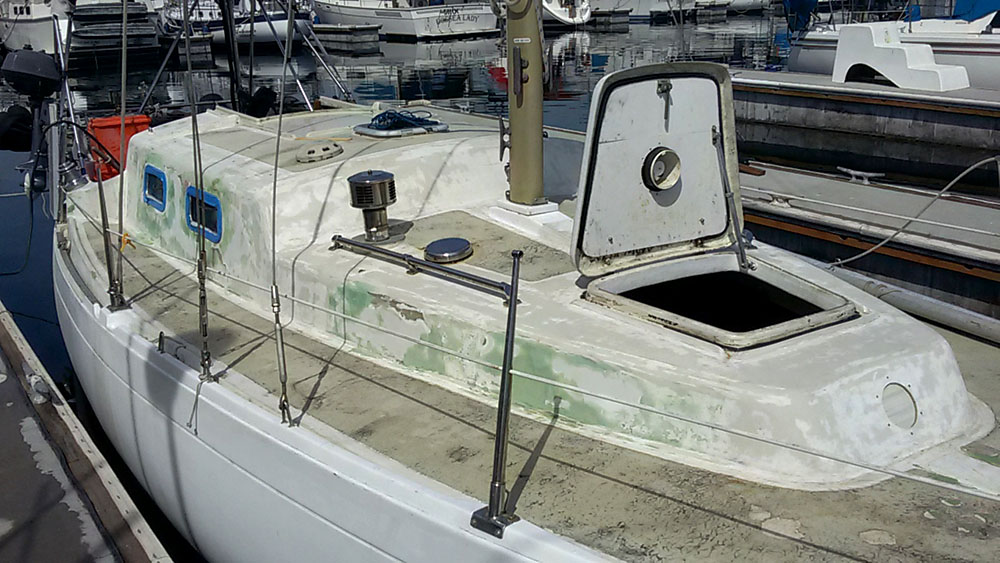
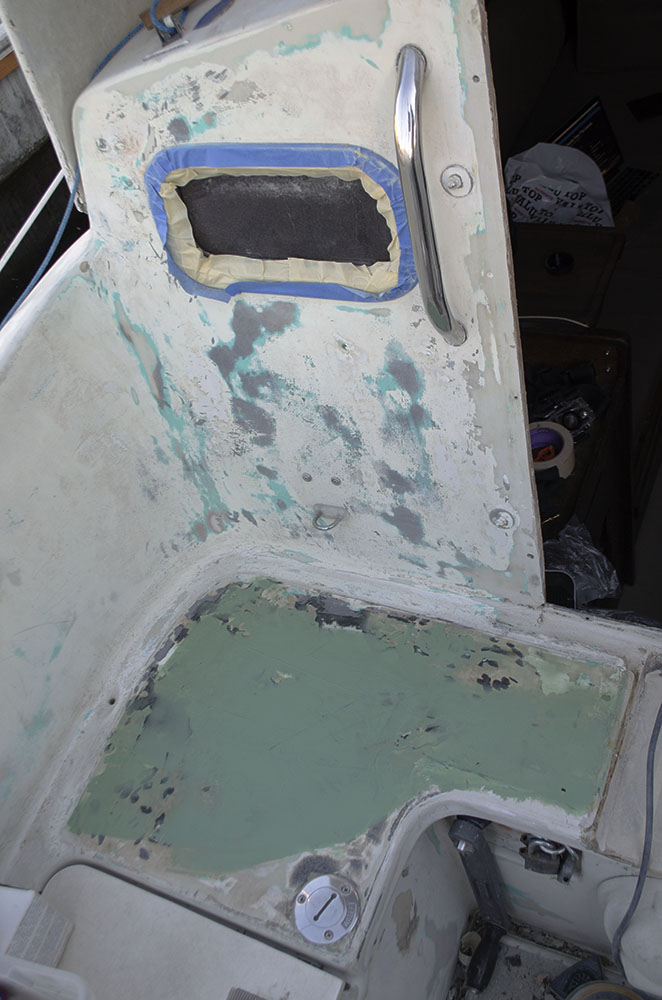
Adding Portlights
When I first purchased the Vega, there were three opening Lewmar portlights (one on either side and one opening into the cockpit). I didn’t like the look so I added one more to each side.
I also decided to add a small forward facing portlight, for the purpose of visibility as well as adding light into the very dark fore-berth. The Albin Vega typically has four small portlights in the V-berth but they were removed and the cabin glassed in by a previous owner.
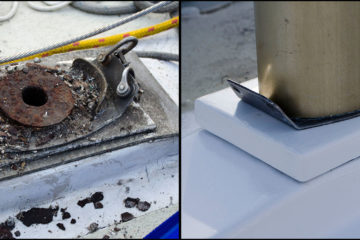
Bridgedeck
At some point someone had done weird stuff with the bridgedeck. Originally the Albin Vega came with a compass mounted beneath the bridgedeck, and there was a round glass lens that allowed it to be visible from outside. Well it wasn’t enough to just remove the compass, someone had taken a piece of lumber and placed it over the top of the lens, and then used some apparently low quality adhesives and fillers to try and seal it. When complete, the indentation in the center of the bridgedeck was gone.
I removed the wood and filled the hole with fiberglass, then faired it smooth. Much better.
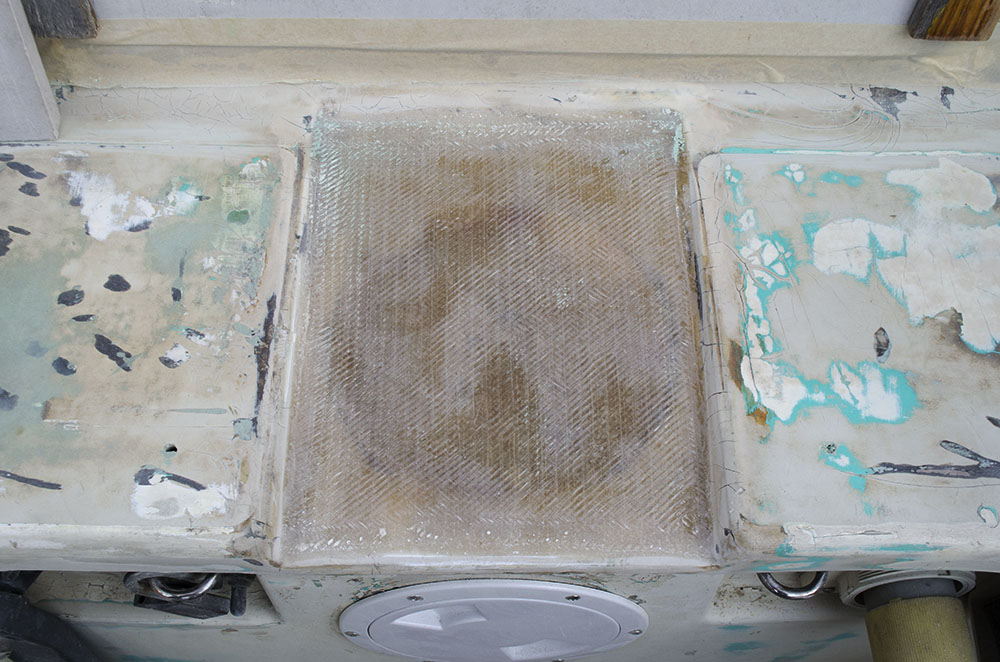
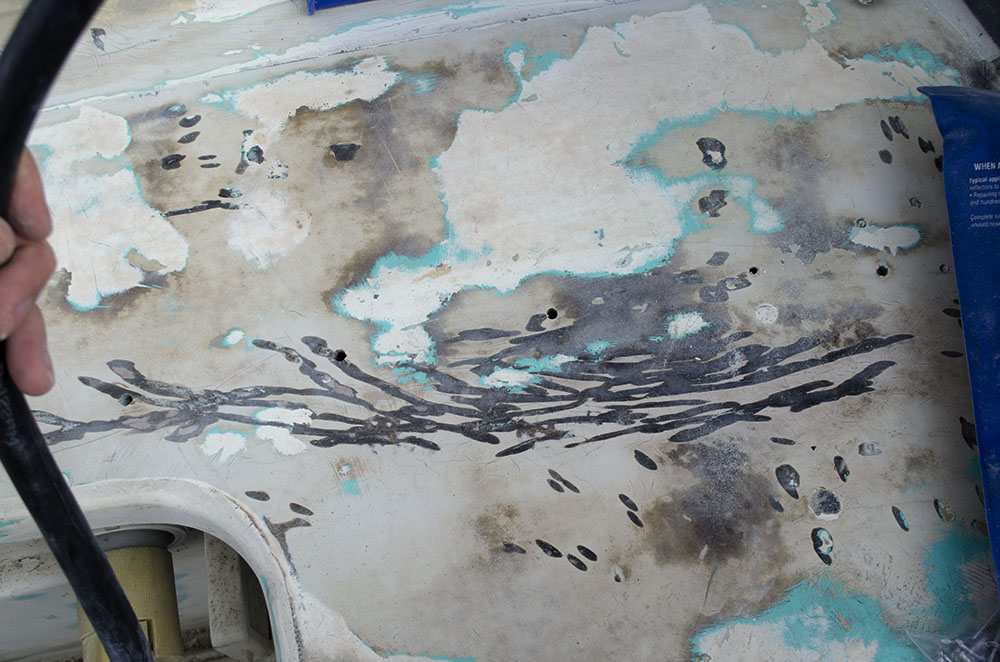
As you can see, either side of the bridgedeck was not spared from chaos. I have no idea what was going on to cause all the gouging…but it was all faired smooth when I was done with it.
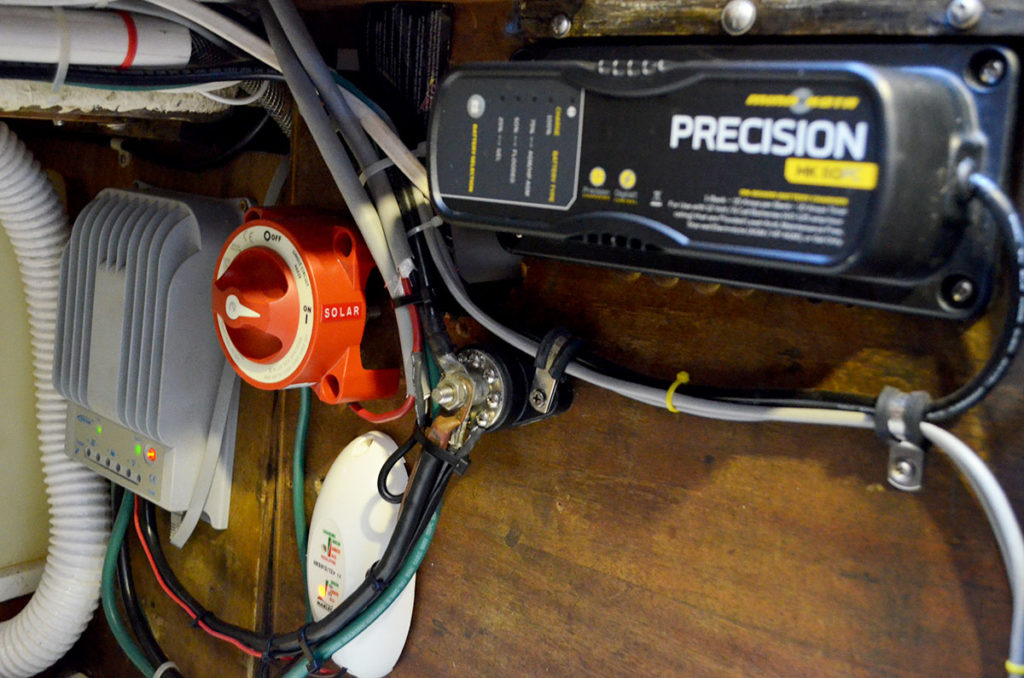
Solar + Wind Tower
My solar & wind tower consists of 2 x 50 watt Renogy monochrystalline panels and a 250 watt Rutland 913 wind generator.

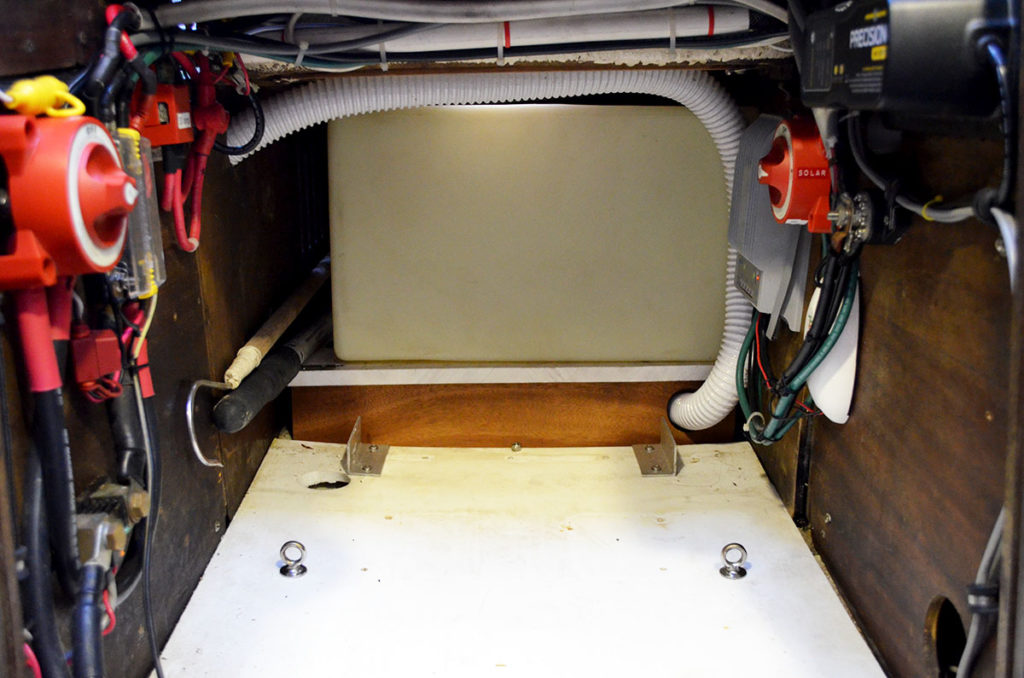
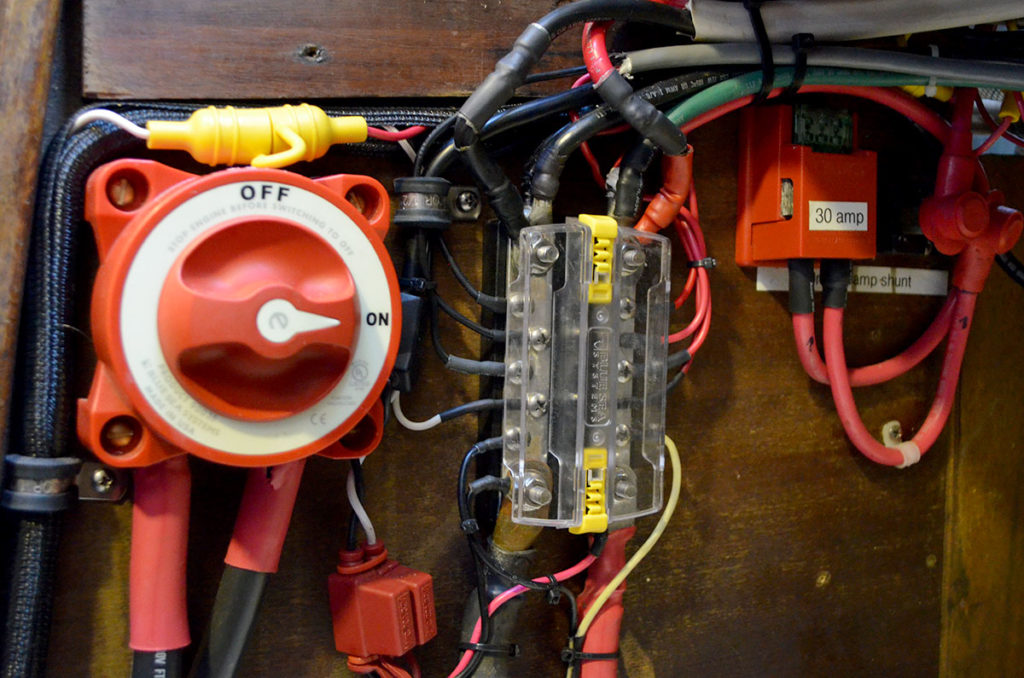
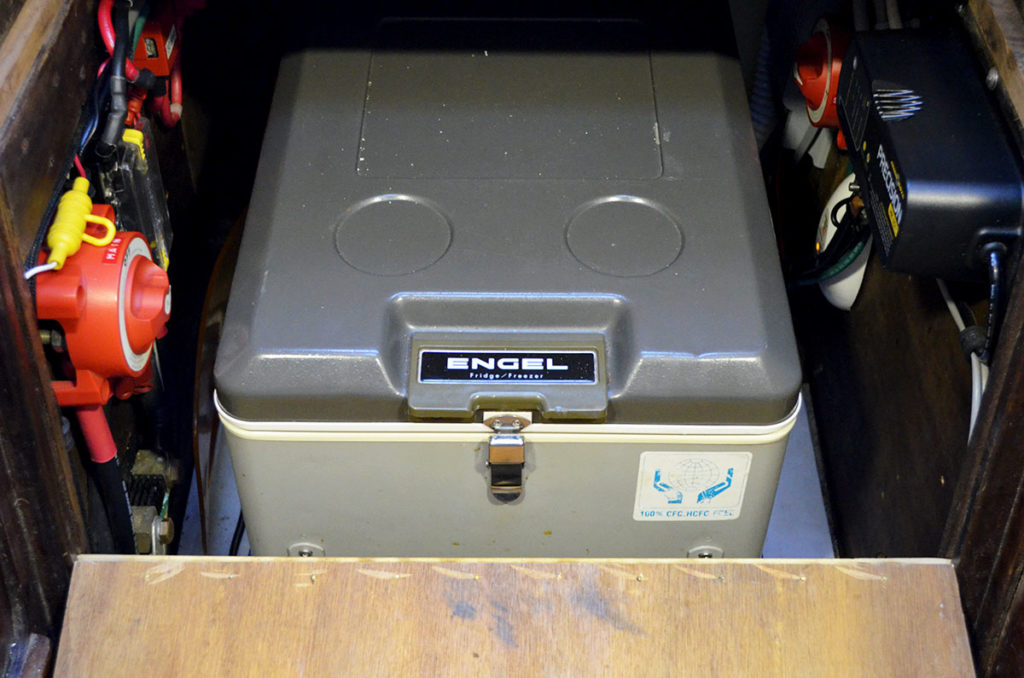
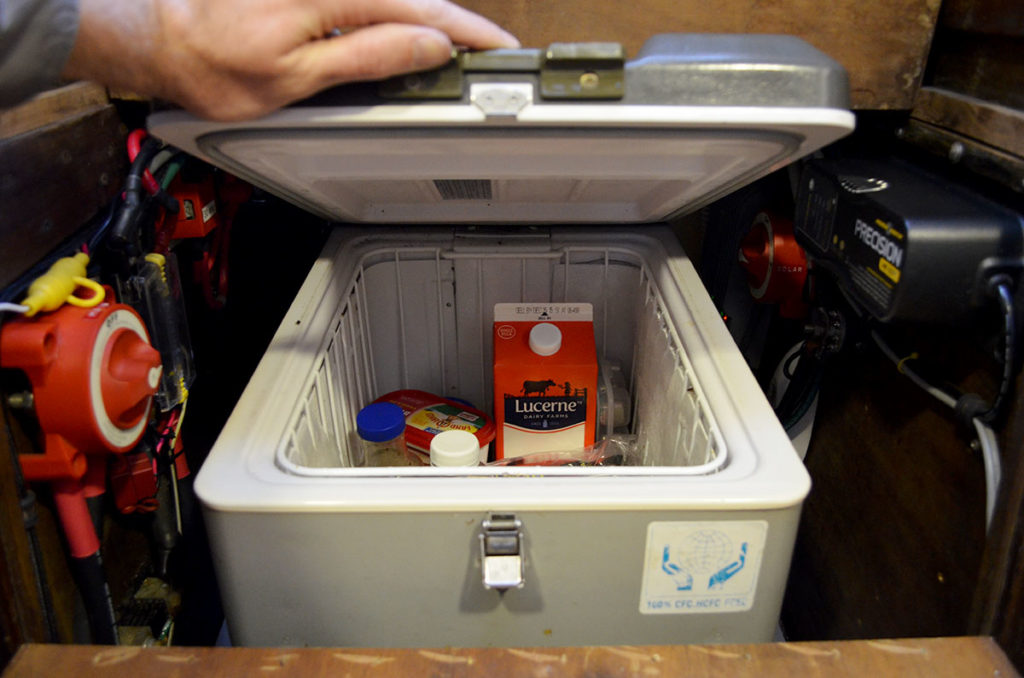
Beneath Companionway
The location that originally housed the auxiliary power has been converted to the electrical hub and space for the Engel MT35 top-loading fridge. Behind these is the Moeller 23 gallon fuel tank (MPN 32623).
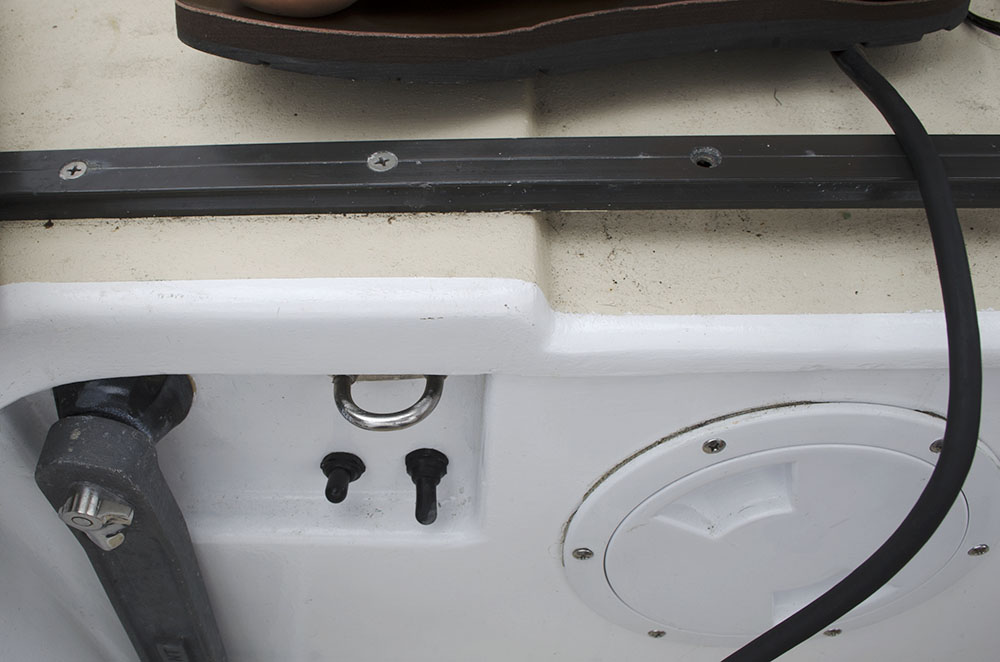
Lowering stanchions
The following photos were taken while lowering the stanchions. They had been raised 1 foot by the previous owner, I lowered them back to within 2″ of stock. The stanchions on the left in the photo are raised, and the ones on the right have been brought back to stock. Much better, eh? The raised stanchions were hideous and caused an absurd amount of force to be placed on the bases, causing one to fail. A word of advice to anyone considering doing this: don’t.
No Comment